
This page describes how to install and use the FRCSim robotics simulator. The experience with the simulator was gained during the First Robotics Challenge FRC competitions in 2016 - 2017 seasons. The preparation to the competitions took place at James Madisson High School.
The FRCSim robotics simulator enables one to simulate a robot on a PC running Linux. Using the simulator one can test a robot control code developed in C++ or Java in a virtual environment. Both autonomous or manual controls can be tested. For that purpose FRCSim provides a plugin for Eclipse which creates interfaces between Eclipse, Robotbuilder, and Gazebo simulator. The plugin is based on WPI libraries. Both Eclipse and RobotBuilder are included into FRCSim installation.
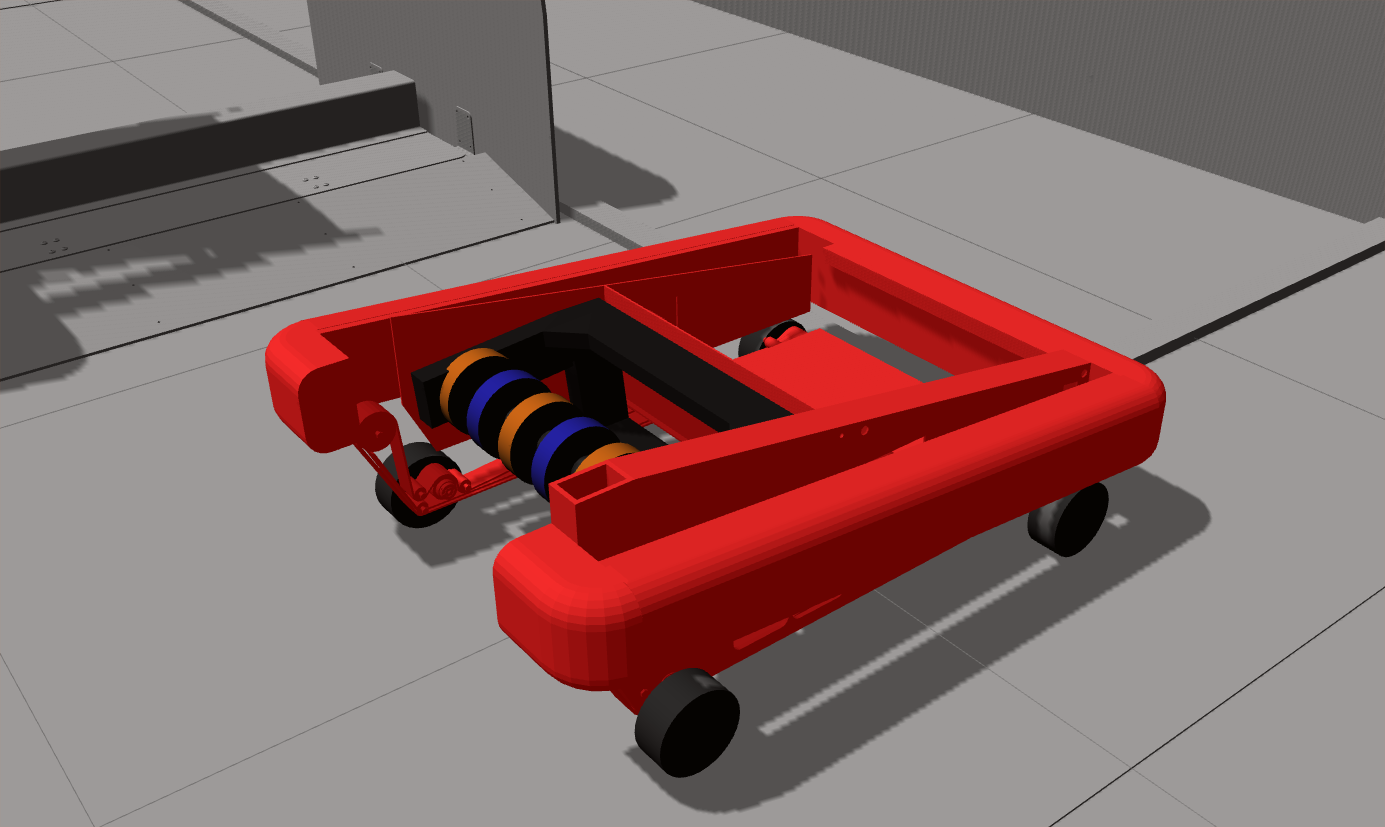
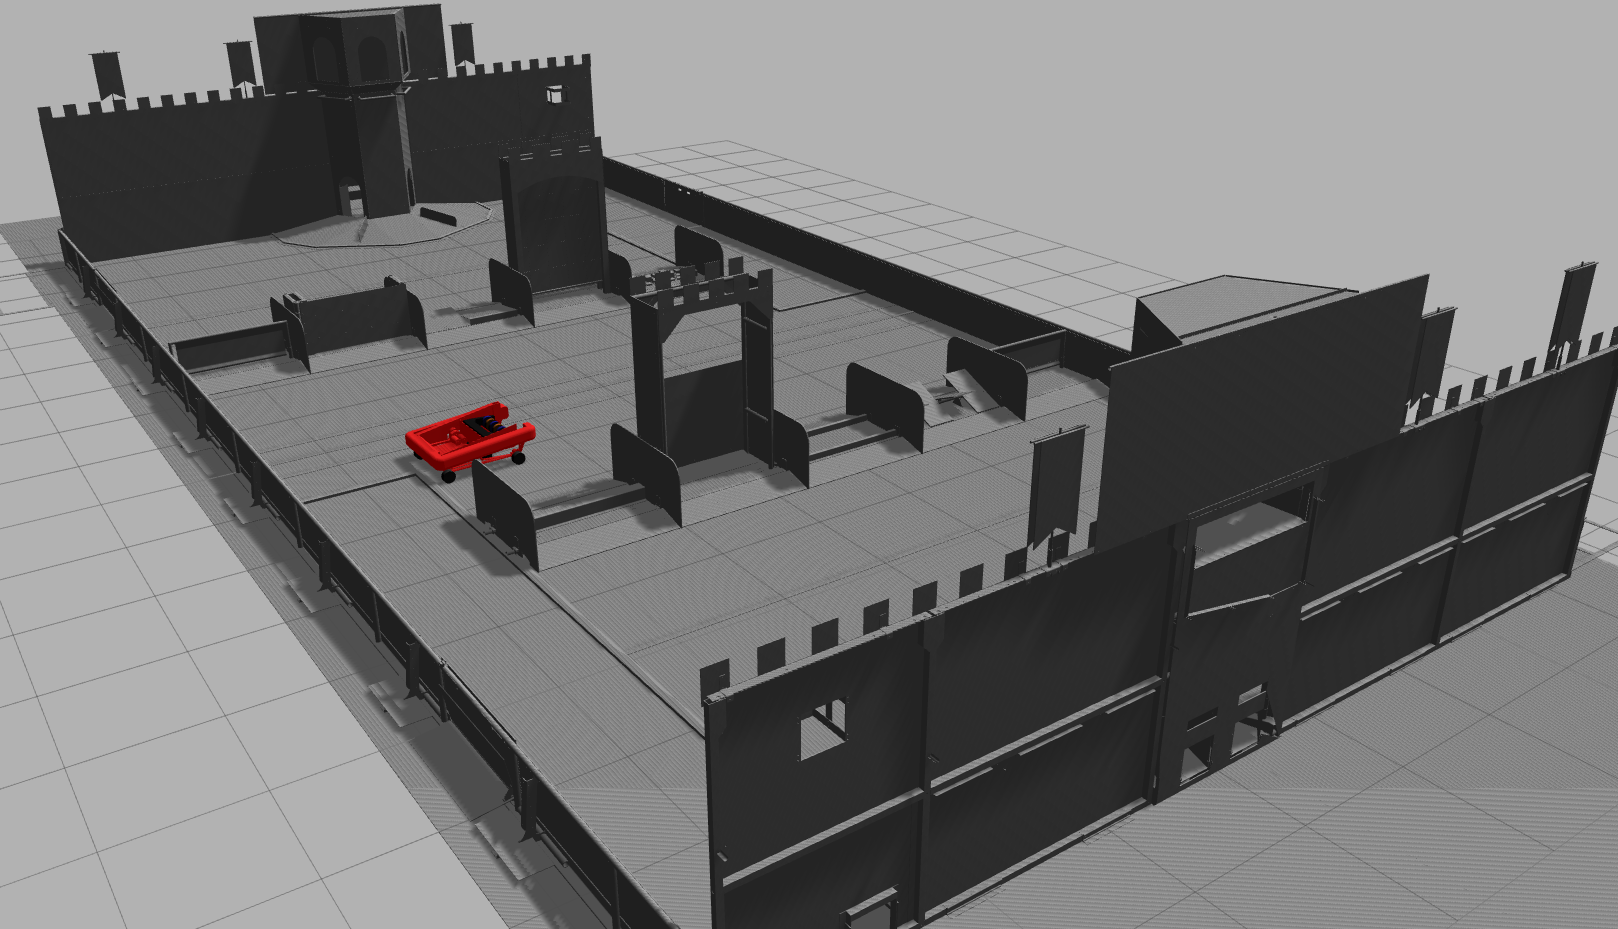
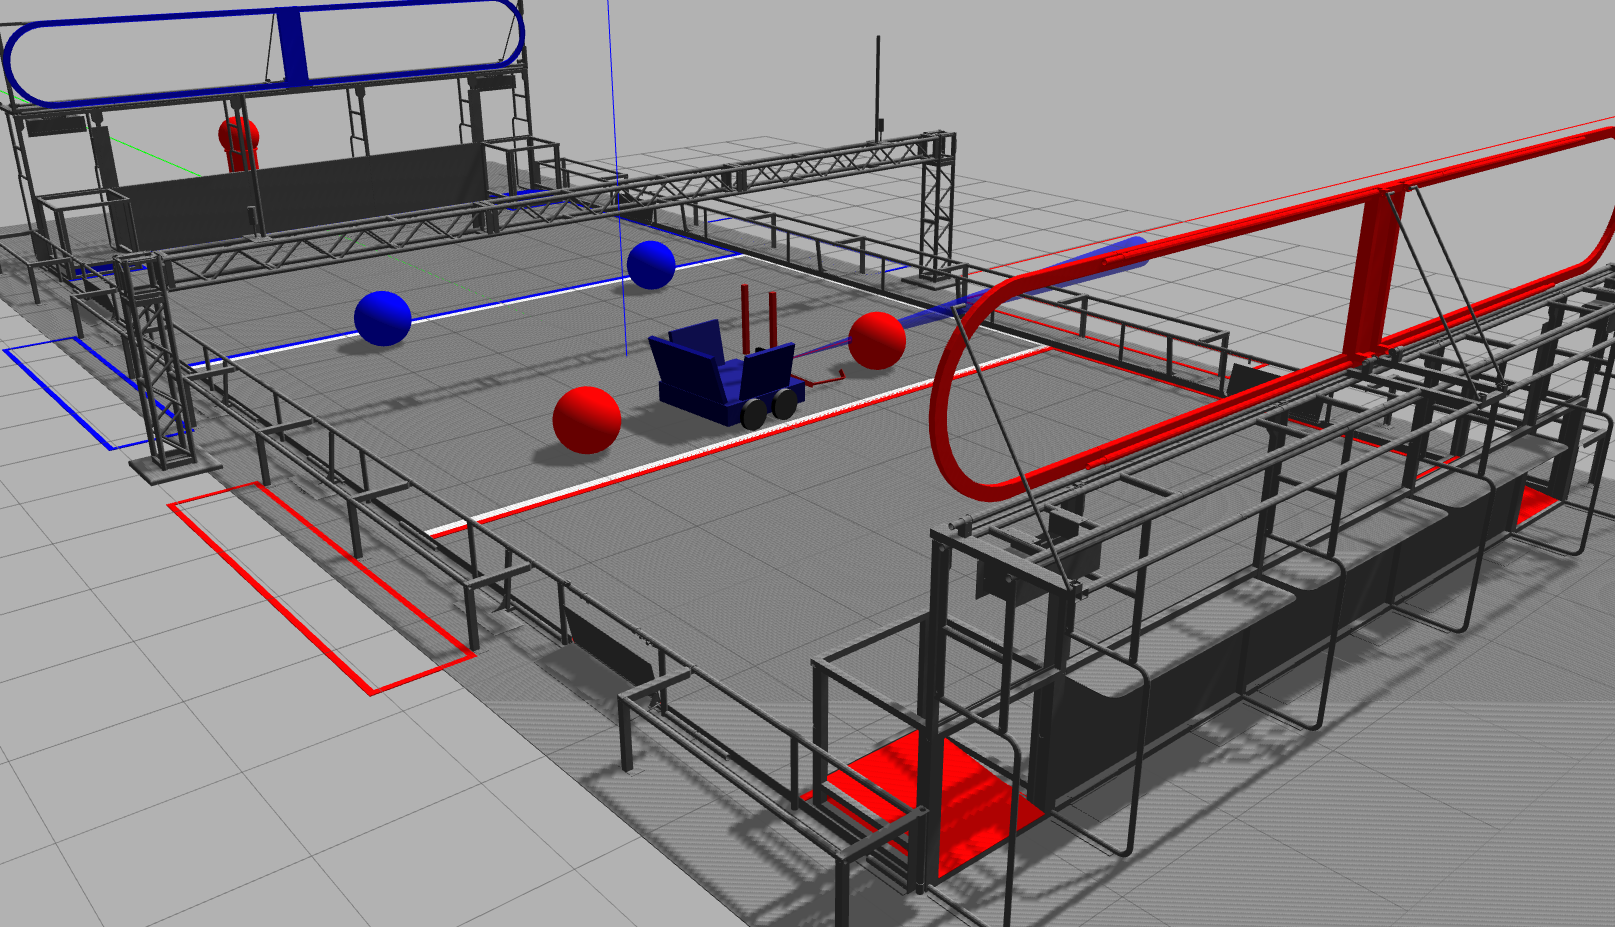
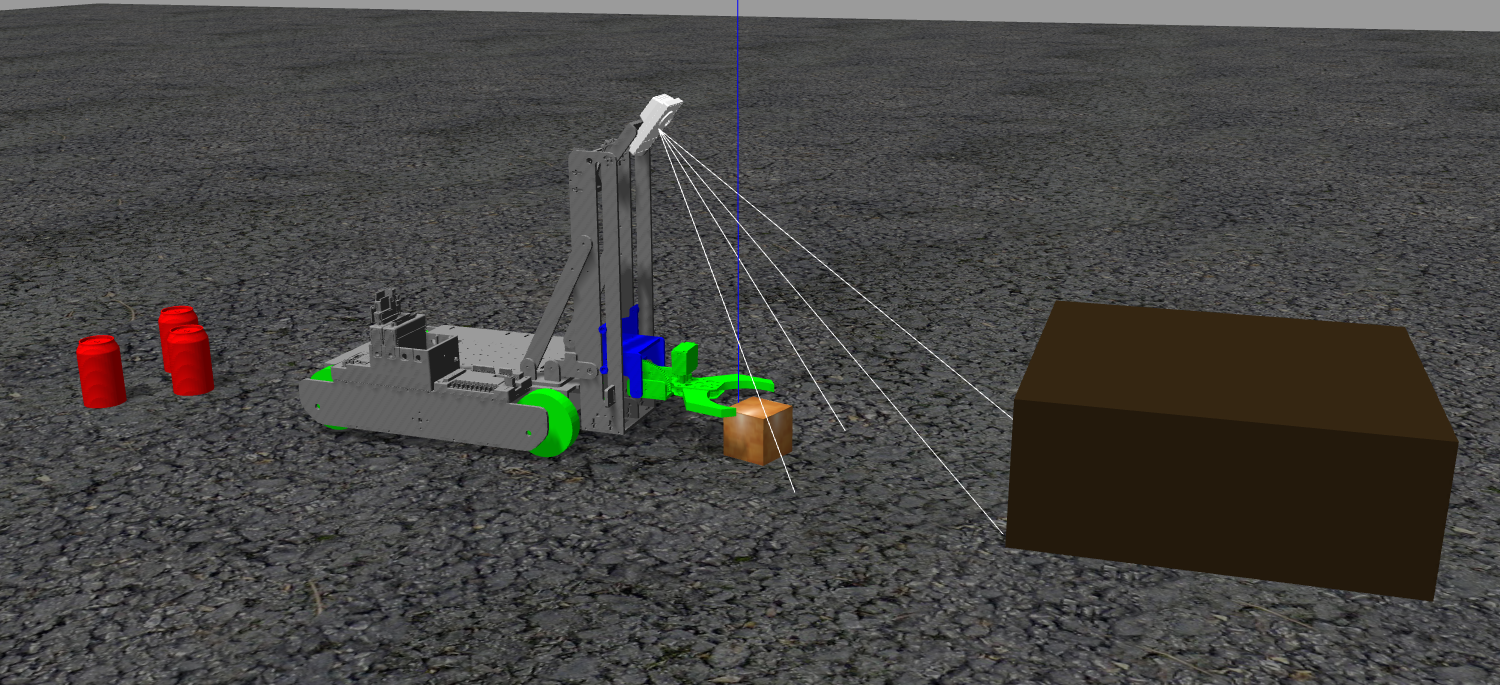
Below are some snapshots illustrating the FRCSim robot simulations.
First you need to install Linux. In particular, Ubuntu Linux was tested with FRCSim and can be installed on a PC, a laptop, or even an external hard-drive.
If the installation is done on an internal drive, it can be configured as a dual boot which preserves the original operating system. In this case one should have around 20GB of space on the internal drive free for Ubuntu installation.
If the installation was done onto an external drive then in order to boot from the external drive one should open the BIOS boot options menu, usually by hitting F9 or ESC after the power button was pressed, and select the external drive as a boot device. One can also set a default boot device to the external drive. In this case the computer will always boot from an external drive if it is connected and has a bootable partition on it.
Below are the installation instruction for installing FRCSim on Ubuntu 14.04. This version of Ubuntu provides the easiest installation of FRCSim with this script.
For other versions of Linux you may follow this link. For more information on FRCSim go to this link and for a more general information on the FRC Control System go to wpilib.screenstepslive.com/s/4485.
Good tutorials to follow are the one on GearsBot and PackGoat. Also, you may use a well functioning robot prototype model: Ekips. This can be downloaded from this link.